Instructions &
Tips for Best Application
How to Apply
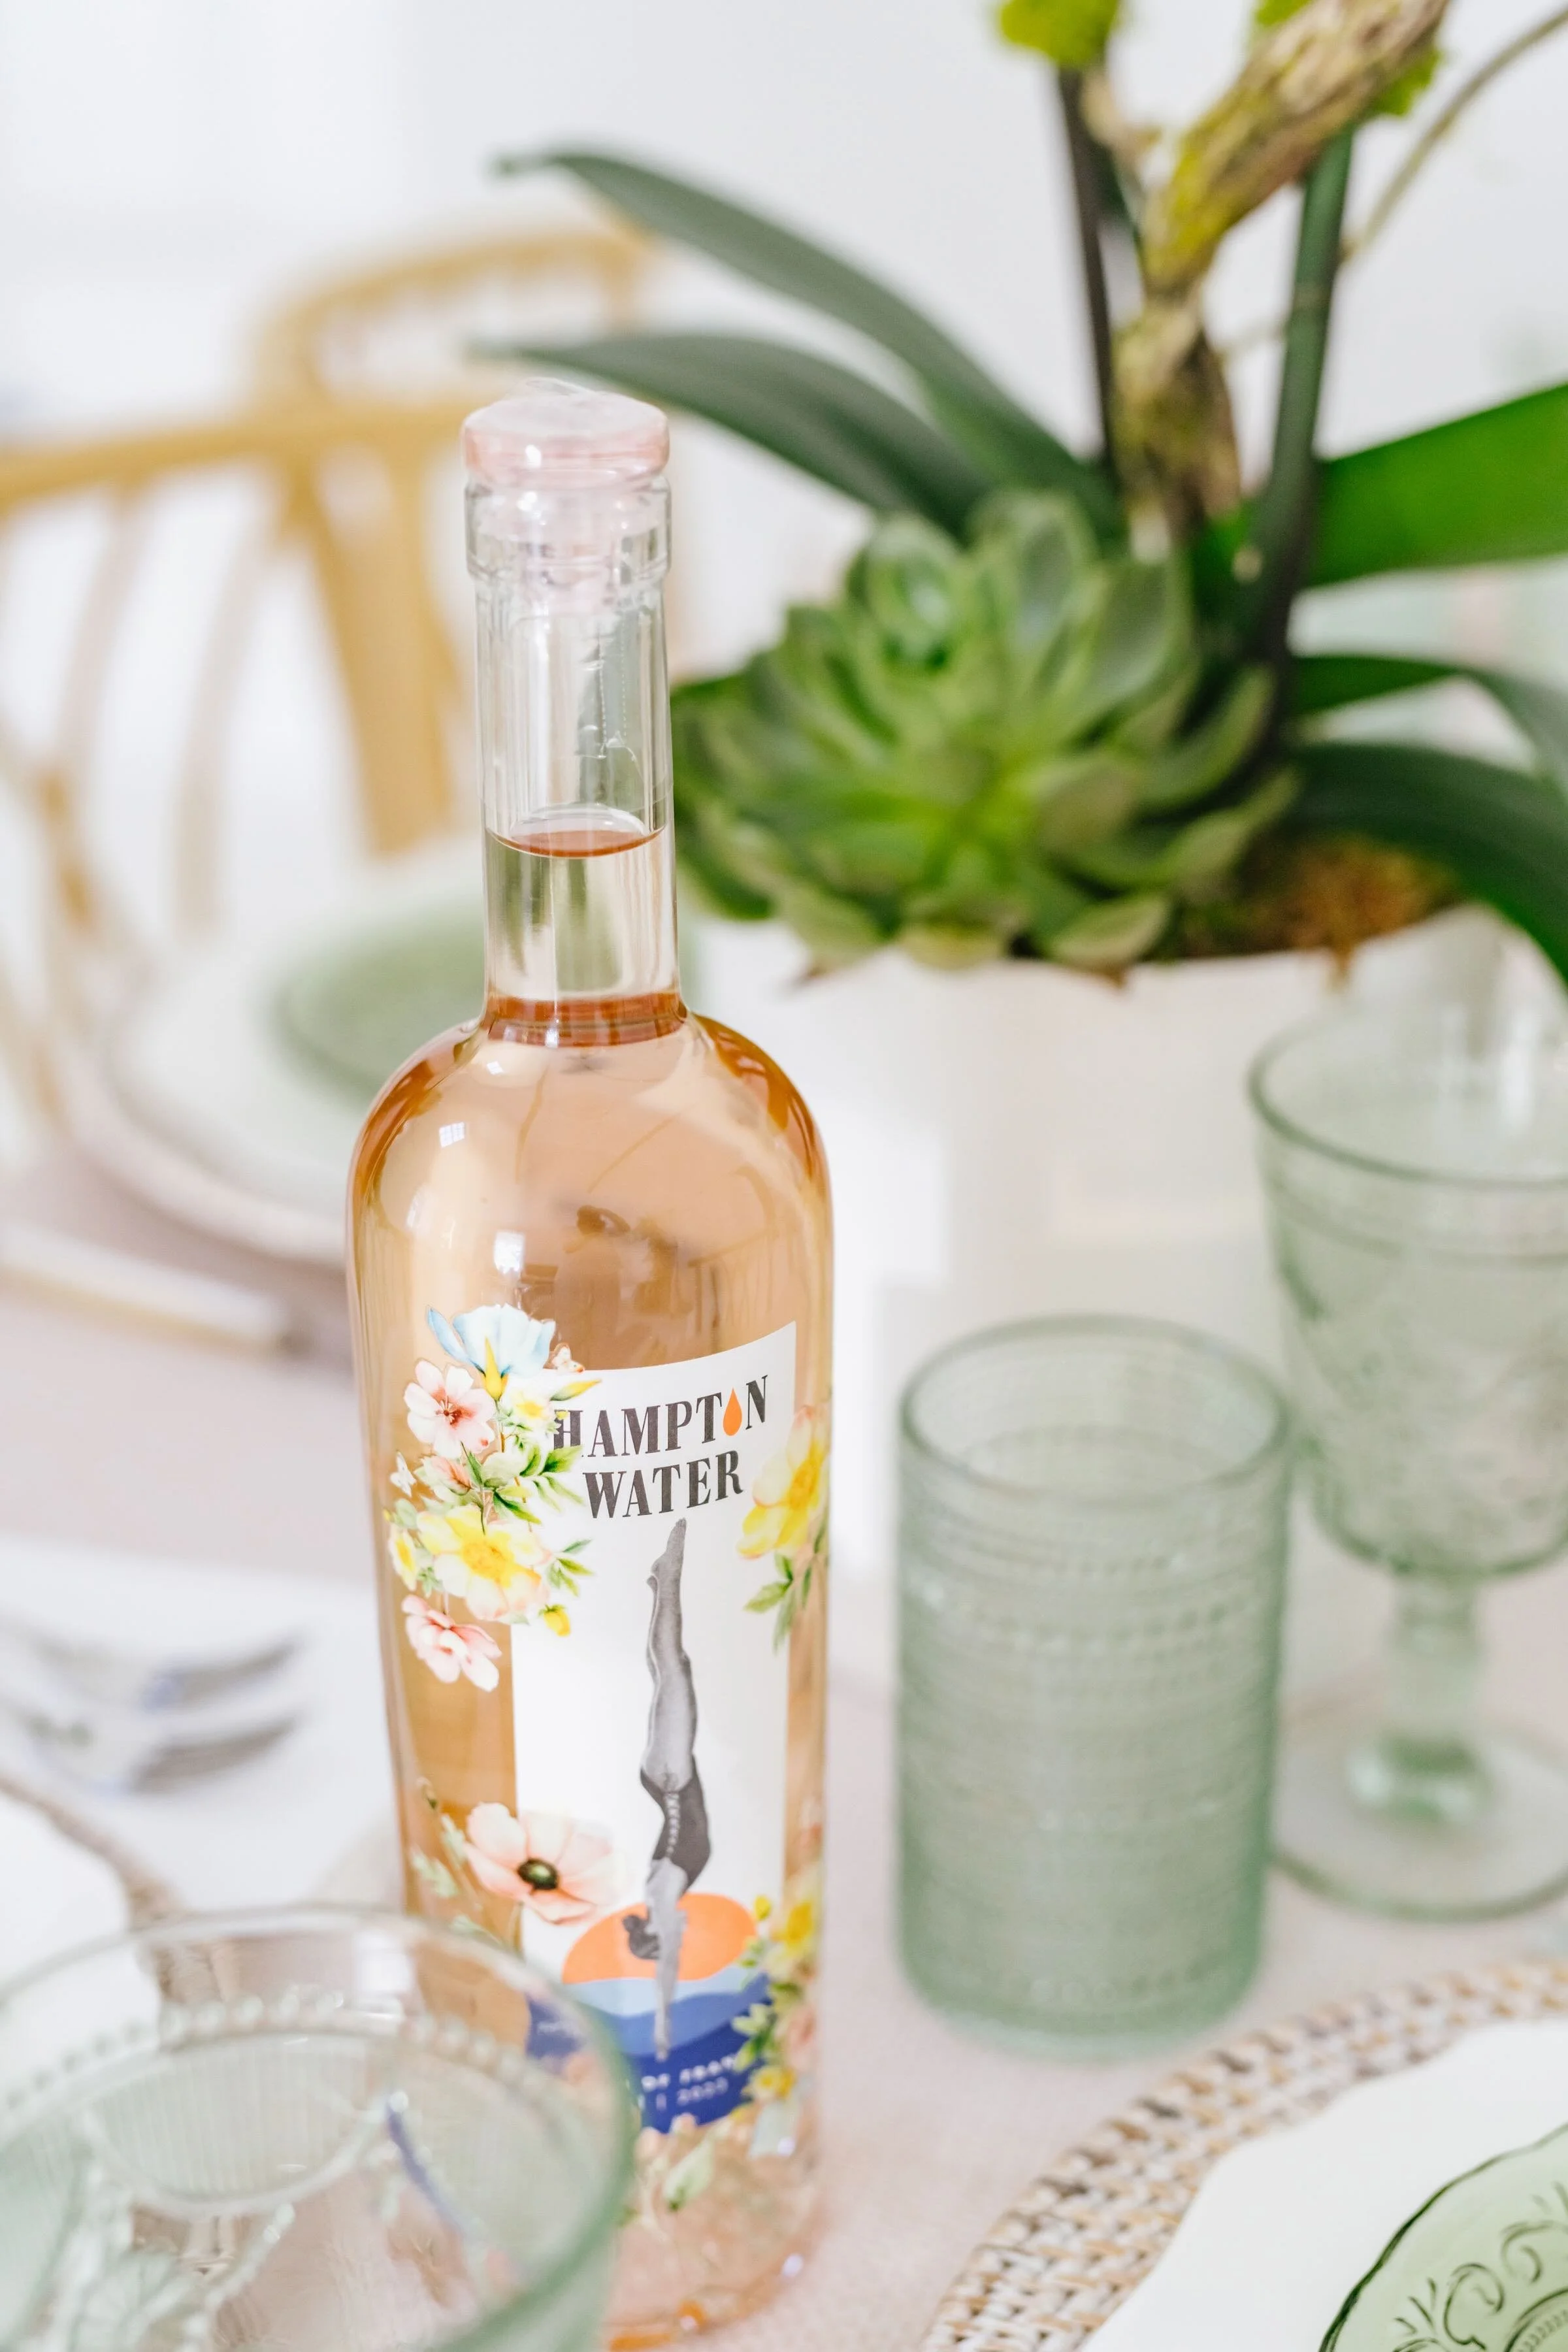
Sip Pics are hand painted watercolor decals that dress your bottle to impress even the most discerning host or hostess. Applying your Sip Pics is simple, satisfying, and best done with a little care. Here’s how to get the most beautiful results:
1. Cut Out Each Image
Trim each design from the sheet. Play with placement on your bottle before applying.
FOR BORDER DESIGNS cut directly along the edge of the design and line up with your bottle’s label.
2. Peel off the White Backing
Carefully peel off the white backing layer. If any part of the image starts to lift with it, pause, then firmly rub your finger over the image and peel again slowly.
3. Place the Image on the Bottle
Press the image onto the bottle and firmly rub ONLY THE ARTWORK OR WORDS using your finger or fingernail. A light touch on the clear edges makes removal easier later.
4. Remove the Clear Top Sheet
SLOWLY peel off the clear protective layer. If part of the image or wording lifts or tears, press it back down, rub again, and try peeling from a different corner.
CHEERS!
Sip Pics Application Tips
Label Type Matters
Smooth or shiny labels (like Veuve or La Marca)? You're good to go. Apply Sip Pics anywhere.
Matte paper labels (most standard wine bottles)? Avoid placing decals directly on them. Apply your designs above, below, or beside the label to prevent the transfer film from sticking to and tearing the paper.
Temperature Tip
Sip Pics won’t stick well to cold bottles.
Apply at room temperature, then chill your bottle after decorating.
Neck Placement Advice
Some bottle necks are curvy! Use smaller decals in these spots or skip the neck entirely to keep your designs smooth and wrinkle-free.
Want to see Sip Pics in action?
Check out our Instagram or tag us @sip_pics to show off your creation.


